|
How to Create a Laptop PictureFrame:
First, I had an old cruddy laptop laying around that I never used. I was always trying to find a use for it, too. The specs are: 15" screen running at 1024x768, PIII 450, 512 MB RAM, 12 GB hard drive. It was once a good machine but now it's pretty much a slug. So I first loaded it up with software: I installed a fresh copy of Windows XP Service Pack 2, and removed all the unnecessary garbage like Automatic Updates, prompts to upgrade security settings, etc. Then, I found a slideshow program that would generate an executable slideshow file and I put a shortcut to it in my Startup folder. It's also important to have your user be the only user on the system and have no password so when the machine boots, it logs in as him immediately and runs the slideshow.
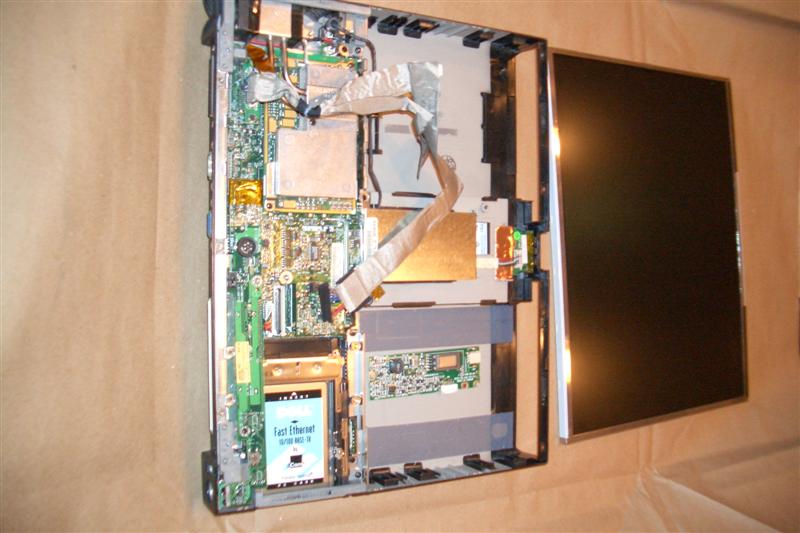
With that all done, I began to disassemble the laptop. It was easy at first, but after about a half an hour trying to figure out how to get the keyboard out, I downloaded the schematics from Dell's website. From there, it was only a matter of determining which pieces I could get rid of and which ones had to stay. As it turns out, this sucker can run with practically nothing: I removed the mouse, keyboard, built-in speakers, DVD-ROM, and battery. The finished functional laptop looked like this:
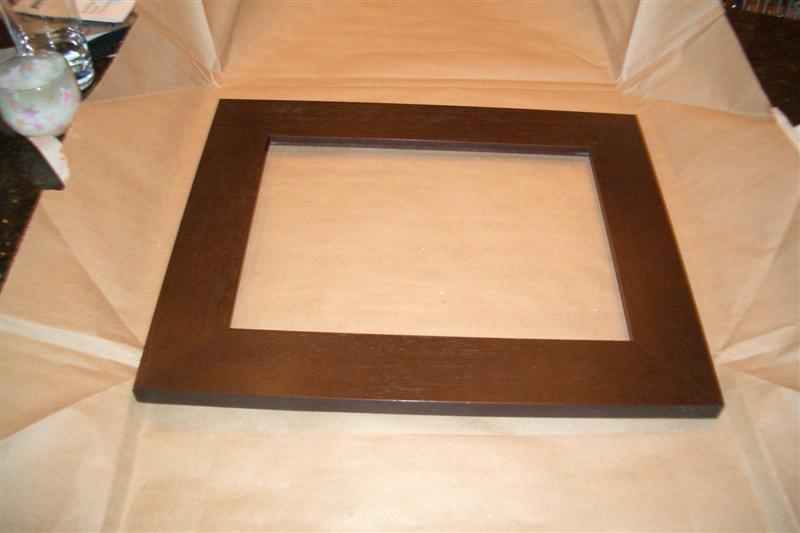
Next, I had to find a frame. At first, I was going to try to put all of the components in a deep picture frame, what they call a shadowbox frame. I went to a local frame shop and started talking it over with the staff. After a while, it became apparent that there are multiple ways to pull this off, and the shadowbox frame might not be the best. So I came back with laptop in tow, so the experts could see what I was trying to do. We determined that if I simply used a wide enough frame, I could hide the motherboard and components behind it and they would only be visible if you were looking at the frame from the side. So I picked out a style and had them custom make it to fit the dimensions of the LCD (which is about 9x12). Three days and $65 later, I had it. This was just a frame, with no backing or mounting at all:
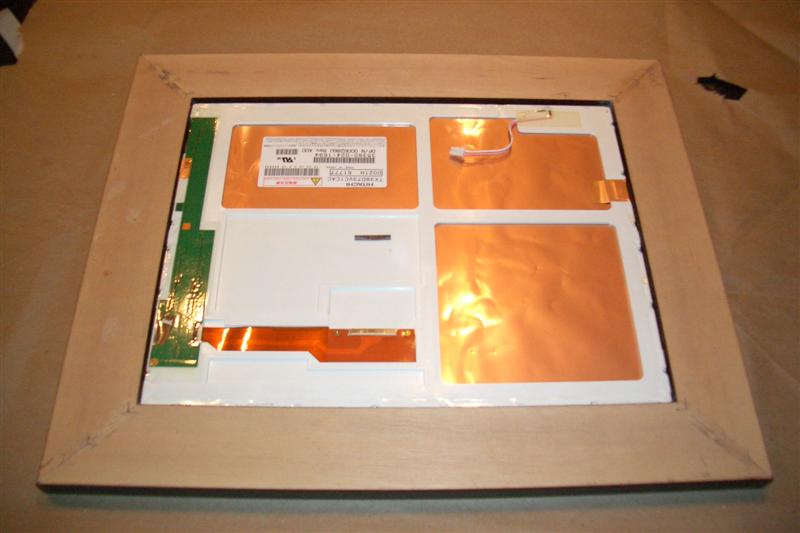
Next came mounting the LCD in the frame. This was actually very easy. First, I tried a hot glue gun, but I quickly realized that the glue doesn't stick well to metal (stuck great to the wood though, and took me a half hour to clean off). So I opted for Superglue instead. I let it dry overnight and it seems to be holding quite well.
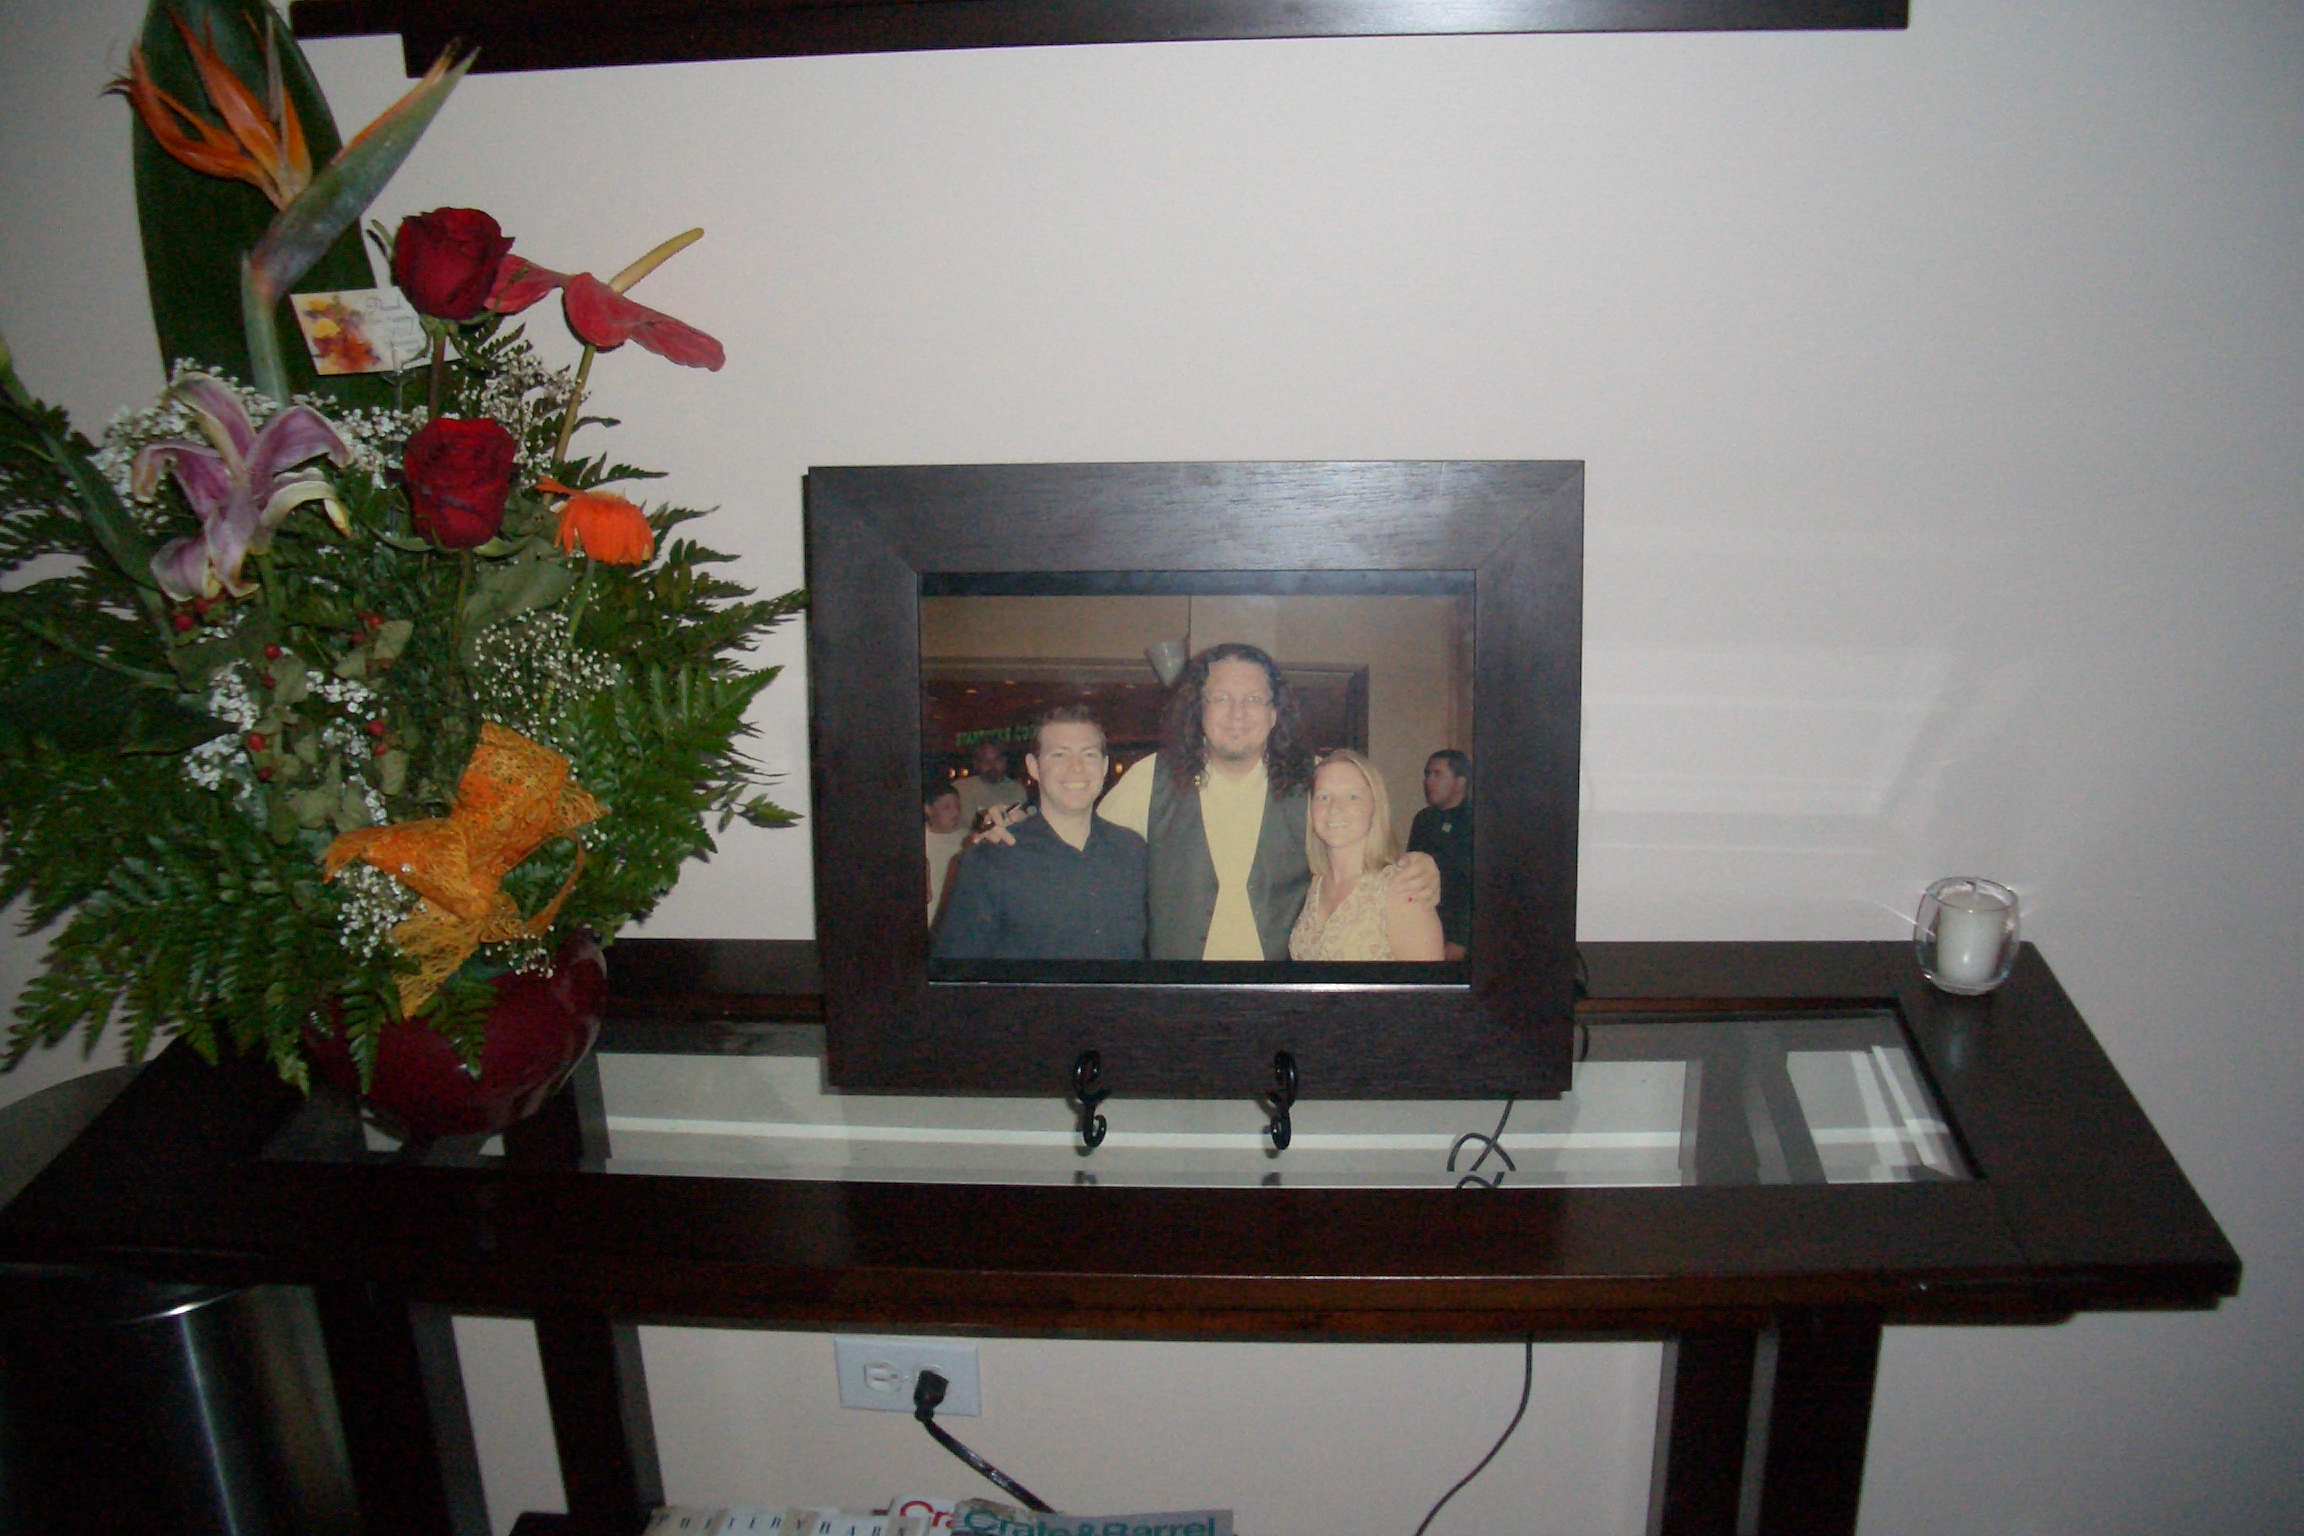
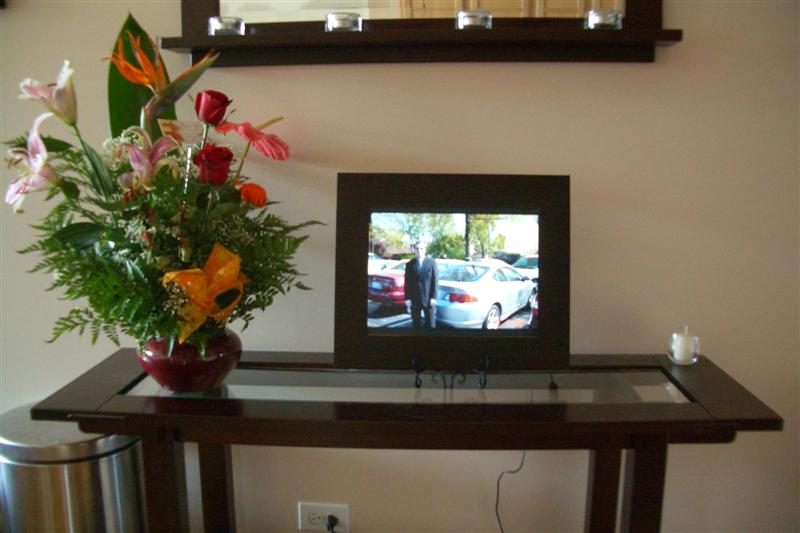
Then I went over to Pier One and picked up a $5 plate stand (also known as an easel, I think). I put the frame in front, and the laptop casing with all the components behind it. I actually used zip ties to secure the back to the stand for my own peace of mind. Then I turned it on!
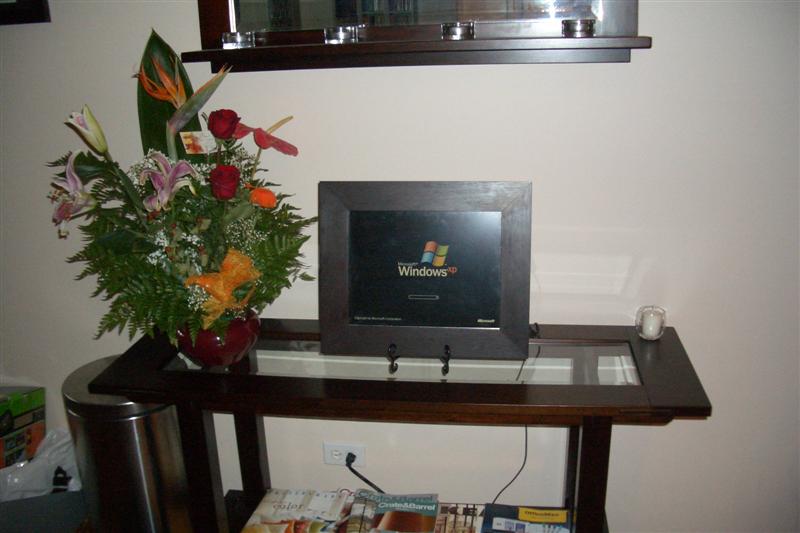
Once it booted, it launched right into the slideshow. One problem that still needs to be addressed is that we take most of our digital photos in an aspect ratio that makes them suitable for printing, which is wider than the 4:3 aspect ratio of the laptop screen, hence black bars at the top and bottom of most pictures. If I want to fix that, I'll need to crop the pictures a bit. But luckily, I have Remote Desktop enabled on this PC, so all I have to do is plug a network cable into it (or slap in a wireless card, I don't keep one in at all times) and tweak the settings.
I recently found this site which chronicles all kinds of similar projects. Turns out this isn't really that tough to pull off - though you could certainly get a lot more elaborate than I did. So if you have an old laptop laying around that you don't know what to do with - give it a shot.
|